How to Grow Chili in Plastic Bottles on the Terrace
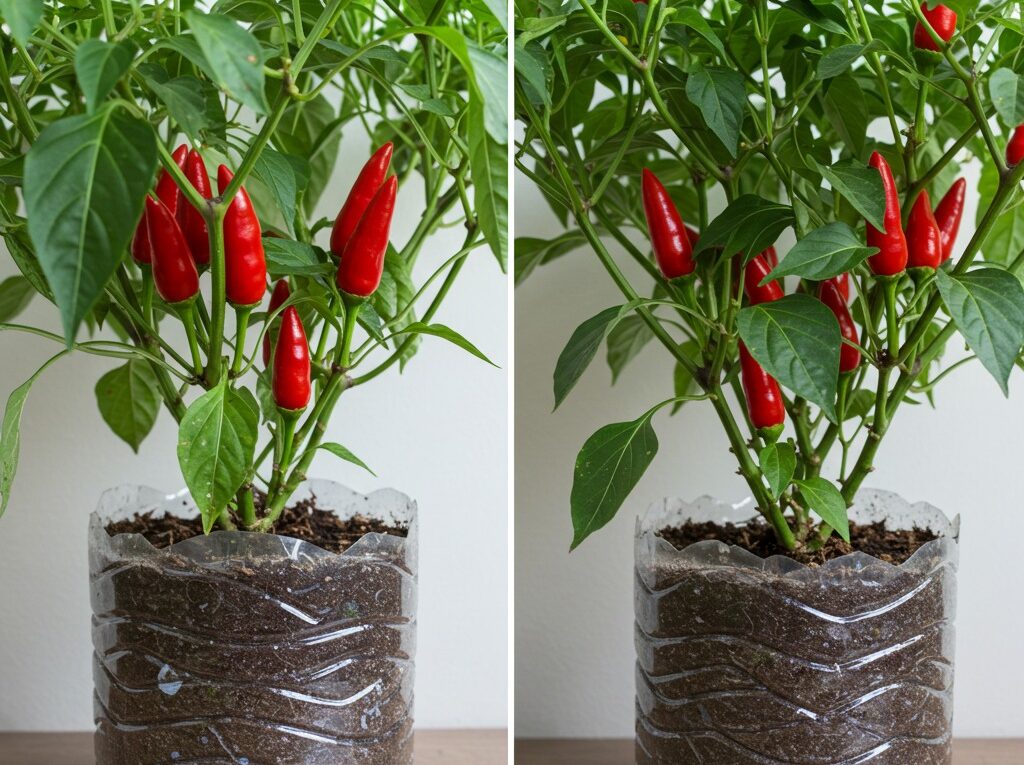
If you’ve ever dreamed of growing your own spicy, flavorful chilis at home but lack a garden, don’t worry—you can easily grow chili plants on your terrace using recycled plastic bottles. This method is simple, sustainable, space-saving, and ideal for urban gardeners. Whether you want to enjoy the heat of chili peppers in your cooking or add a splash of greenery to your terrace, this guide will walk you through each step.
Why Use Plastic Bottles?
Using plastic bottles as planters is an effective way to recycle and save money. These bottles are lightweight, easy to modify, and perfect for vertical or horizontal arrangements. Plus, they’re ideal for small spaces like terraces or balconies where conventional gardening may not be possible.
Benefits of Growing Chili in Plastic Bottles
-
Low cost – You reuse what you already have at home.
-
Space efficiency – Bottles can be arranged vertically or hung.
-
Portability – Bottles can be moved easily to follow the sun.
-
Water management – Bottles retain moisture better in dry climates.
-
Eco-friendly – Reusing plastic reduces environmental waste.
Materials You’ll Need
-
1.5 or 2-liter plastic bottles (preferably transparent)
-
Chili seeds or seedlings
-
Potting soil (well-draining)
-
A knife or scissors
-
A small nail or heated needle (to create holes)
-
Watering can or spray bottle
-
Organic compost or slow-release fertilizer (optional)
-
String, wire, or hooks (for hanging or vertical arrangement)
Step-by-Step Guide
Step 1: Prepare the Bottles
Start by cleaning the plastic bottles thoroughly. Remove any labels and rinse out the inside to eliminate residues. Once the bottles are dry:
-
Cut an opening:
Cut a rectangular opening along the side of the bottle (for a horizontal planter) or cut off the top (for a vertical planter). Ensure the opening is large enough to allow soil and plant growth but not so wide that soil spills out. -
Create drainage holes:
Use a nail, knife, or heated pin to poke 4-6 holes in the bottom of the bottle to allow excess water to drain out. -
Optional – Hanging setup:
If you want to hang the bottles on a wall or railing, make two holes on each side of the top rim and insert string or wire for hanging.
Step 2: Add Soil and Fertilizer
Fill each bottle with potting soil, leaving about 2-3 cm (1 inch) at the top to prevent overflow during watering. Potting soil should be well-draining and rich in organic matter. You can add a handful of compost or a slow-release fertilizer to support plant growth.
Make sure the soil is slightly moist before planting the seeds or transplanting seedlings.
Step 3: Plant the Chili
You can either plant chili seeds directly in the soil or transplant young chili seedlings.
-
From seeds:
Plant 2-3 seeds about 1 cm deep. Cover them lightly with soil. Keep the soil moist, and they should germinate in 7–14 days depending on the variety and temperature. -
From seedlings:
Make a small hole and gently place the seedling inside. Press the soil around the base to hold it in place.
Step 4: Find the Right Spot
Chili plants love sunlight. Place your bottles in a location on your terrace where they’ll receive at least 6 hours of direct sunlight daily. South-facing spots are ideal.
If you’re using hanging bottles, secure them on a wall or railing with strong hooks. For upright containers, make sure they sit on a level surface.
Step 5: Watering and Care
-
Watering:
Chili plants like consistently moist soil but do not tolerate waterlogged roots. Water lightly every day or every other day, depending on the weather. Early mornings or late afternoons are best for watering. -
Fertilizing:
If you’re not using compost, apply a balanced liquid fertilizer every two weeks once the plant reaches about 10 cm in height. -
Pruning:
When the plant has grown 5–6 sets of leaves, pinch off the top to encourage bushier growth and more fruit production. -
Support:
As the plant grows and produces fruit, it may become top-heavy. Use sticks or small stakes to support the plant inside the bottle.
Step 6: Harvesting
Chili peppers are typically ready for harvest 2–3 months after planting, depending on the variety. Harvest them when they are fully colored and firm. Use scissors or pruners to snip the chili from the plant to avoid damaging the branches.
Step 7: Reuse and Repeat
After harvesting, you can either let the plant continue producing (many chili plants are perennial in warm climates) or start new seedlings in a fresh container. You can even rotate crops or grow other herbs using the same method.
Tips for Success
-
Choose compact chili varieties for small containers like bird’s eye or Thai chili.
-
Rotate bottles if only one side gets sunlight to promote even growth.
-
Add mulch (like dried leaves or coconut husk) to retain soil moisture.
-
Use netting or light shade if summer sun is too intense in your region.
Conclusion
Growing chili in plastic bottles on your terrace is a great way to enjoy homegrown spices while reducing plastic waste. It’s affordable, convenient, and requires very little space. With just a few materials and a little care, you’ll be able to harvest flavorful, fiery chilis right from your own home.
Give it a try—you might be surprised at how easy and productive terrace gardening can be!